Objectives
The main goal is to create high available kubernetes (k8s) cluster spread across zones which belongs to one AWS region and this example presents real use case which could be used by programmers. I used very helpfully open-source solution - Kops. This tool configure networking, route tables, VPC, auto-scaling components and DNS in private zone. In addition the Master and Worker Nodes are created order to our requirements.
The Solution
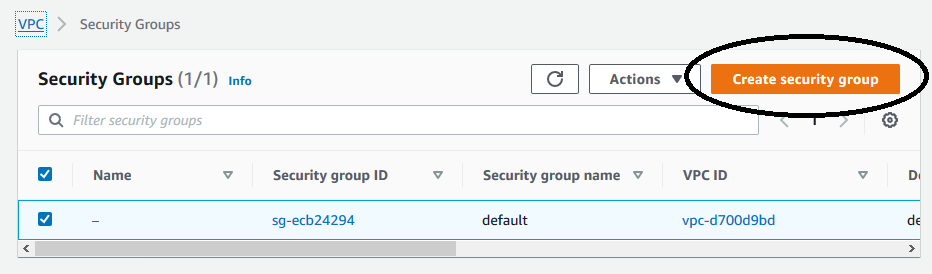
The solution is spited in few steps. It was necessary to previously create additional manage server VPC etc. and finally create the k8s cluster using Kops.1. Create Security Group with access rules. That security groups allows to connect to.


2. Crate EC2 server. Find service EC2 -> create new Instance -> Choose Image (AMI) -> Add tags, keys (to login) and previously created security group. Finally we should have similar summary screen

3. Install kubectl on Manage Server (point no 2). The description for this point is: https://kubernetes.io/docs/tasks/tools/install-kubectl/ . It is necessary to login to this server using i.e. Putty and then run commands:
curl -LO https://storage.googleapis.com/kubernetes-release/release/$(curl -s https://storage.googleapis.com/kubernetes-release/release/stable.txt)/bin/linux/amd64/kubectl
chmod +x ./kubectl
sudo mv ./kubectl /usr/local/bin/kubectl
kubectl version --client
4. Install Kops CLI on Manage Server. This is main tool for creating cluster and description is available on: https://aws.amazon.com/blogs/compute/kubernetes-clusters-aws-kops/ and https://kubernetes.io/docs/setup/production-environment/tools/kops/ Run the below commands:
curl -LO https://github.com/kubernetes/kops/releases/download/$(curl -s https://api.github.com/repos/kubernetes/kops/releases/latest | grep tag_name | cut -d '"' -f 4)/kops-linux-amd645. Install Install AWS CLI on Manage Server. The description is available on: https://docs.aws.amazon.com/cli/latest/userguide/install-cliv2-linux.html. Execute commands:
chmod +x kops-linux-amd64
mv kops-linux-amd64 /usr/local/bin/kops
curl "https://awscli.amazonaws.com/awscli-exe-linux-x86_64.zip" -o "awscliv2.zip"
unzip awscliv2.zip
sudo ./aws/install -i /usr/local/aws-cli -b /usr/local/bin
aws --version
6. Create role and attach permissions policies:
AmazonEC2FullAccess
AmazonRoute53FullAccess
AmazonS3FullAccess
IAMFullAccess
AmazonVPCFullAccess
To create role you have to select Identity Access Management (IAM) service and choose Roles


7. Configure manage server using command:
aws configureChoose your selected region.
AWS Access Key ID [None]:
AWS Secret Access Key [None]:
Default region name [None]: eu-central-1
Default output format [None]:
8. Create an S3 bucket for the Kubernetes state store
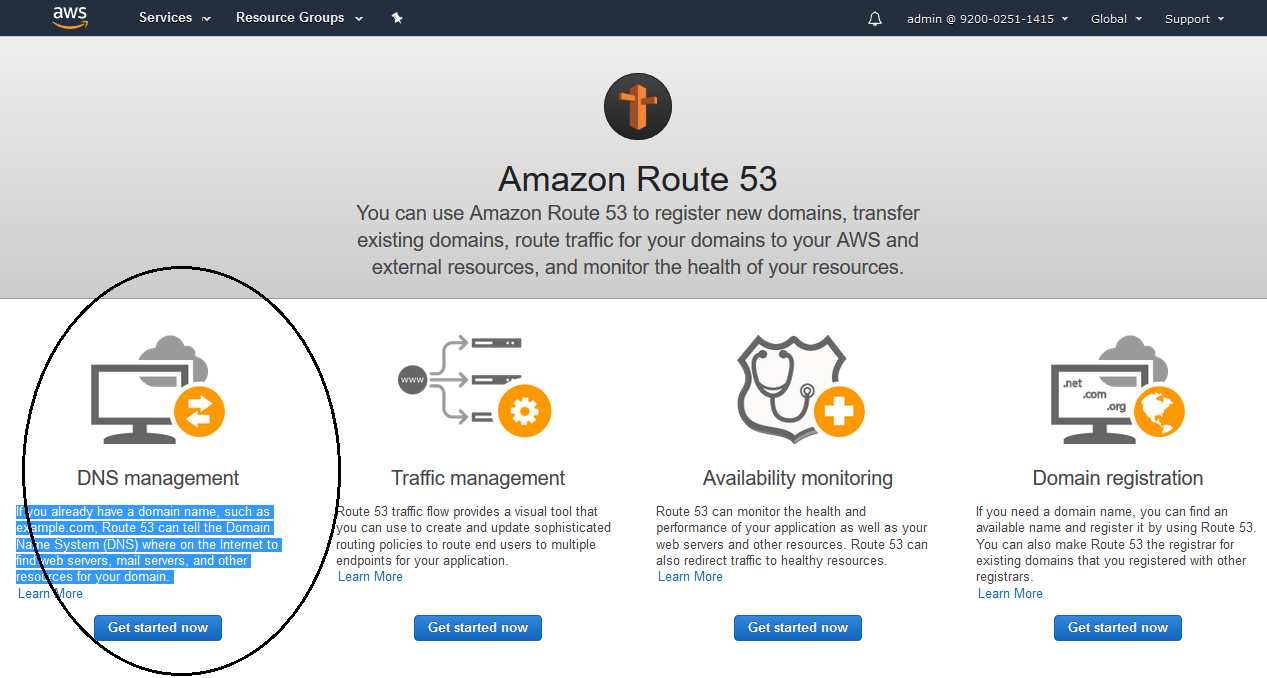
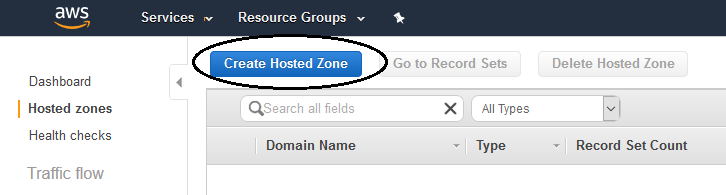
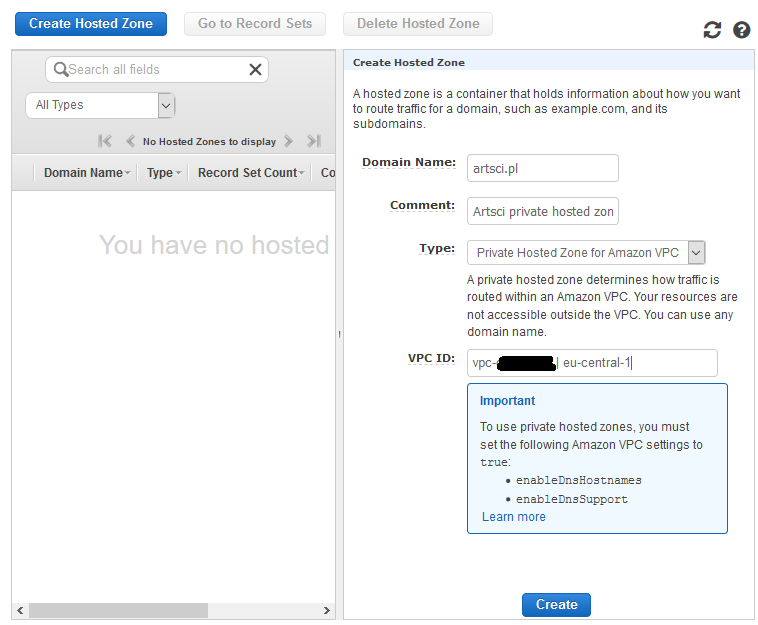
aws s3 mb s3://s3-artsci-bucket9. Create private hosted zone
export KOPS_STATE_STORE=s3://s3-artsci-bucket
10. Create key for cluster
ssh-keygen
Generating public/private rsa key pair.
Enter file in which to save the key (/root/.ssh/id_rsa):
Enter passphrase (empty for no passphrase):***
Enter same passphrase again:***
Your identification has been saved in /root/.ssh/id_rsa.
Your public key has been saved in /root/.ssh/id_rsa.pub.
The key fingerprint is:
SHA256:***/BBmlik root@ip-10-31-12-10
The key's randomart image is:
+---[RSA 2048]----+
| o=.+S=o+.|
| .+o E.@. |
| .+ * = |
| * . o +|
| S + o =.|
| o + o *|
| o .* O |
| + . * +|
| . o. .1o |
+----[SHA256]-----+
11. Create k8s cluster
Create definition:
kops create cluster --cloud=aws --name=cluster.artsci.pl --zones=eu-central-1a,eu-central-1b,,eu-central-1c --node-count=3 --master-count=3 --state=s3://s3-artsci-bucket --dns-zone=cluster.artsci.pl --dns=privateYou should receive outcome:
...
...
Suggestions:
* list clusters with: kops get cluster
* edit this cluster with: kops edit cluster cluster.artsci.pl
* edit your node instance group: kops edit ig --name=cluster.artsci.pl nodes
* edit your master instance group: kops edit ig --name=cluster.artsci.pl master-eu-central-1a
In addition it is available a few commands, for example change server size:
kops edit ig --name=cluster.artsci.pl nodes --state=s3://s3-artsci-bucket
And finally apply all changes :
kops update cluster cluster.artsci.pl --state=s3://s3-artsci-bucket --yes
The results
Our cluster should be available after a few minutes. We can check status of this cluster:kops validate cluster --state=s3://s3-artsci-bucket
Using cluster from kubectl context: cluster.artsci.pl
Validating cluster cluster.artsci.pl
INSTANCE GROUPS
NAME ROLE MACHINETYPE MIN MAX SUBNETS
master-eu-central-1a Master t2.micro 1 1 eu-central-1a
master-eu-central-1b Master t3.medium 1 1 eu-central-1b
master-eu-central-1c Master t3.medium 1 1 eu-central-1c
nodes Node t2.micro 3 3 eu-central-1a,eu-central-1b,eu-central-1c
...
...
Kops created networks:

EC2 instances:

Security Groups for k8s cluster:

VPC for cluster
